


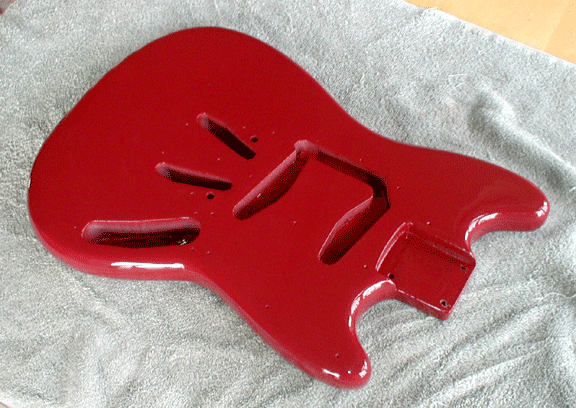
Laquer dries quickly, so progressive coats can be applied about every ten minutes. I tend to use at least 10 coats of laquer, then let dry for 10 days. This allows the finish to harden sufficiently.

1965 Fender Mustang Restoration 11
This guitar was a pawn shop find. It had been stripped and left for dead. See it come to life!

Step 11.
Spray Laquer on Neck
Use very little water when wet sanding headstocks; wood will swell at the tuner holes and you will sand through to the wood! Use a sanding block and sand to 1200, then buff to a glossy shine!

Step 12.
Wet Sand and Buff
Step 3.
Guitar Disassembly
Step 16.
Wet Sand, Buff and Polish Body
Using a sanding block, sand to 1200 grit and be careful at edges. If you sand through the finish, redo it; laquer is very forgiving! Buff with cloth wheel and shine up with a silicone-free polish
Fender Mustangs have two styles of tuners. For 1964-1965, square Kluson tuners were trimmed to reduce screw count. After 1965, specially designed "F" tuners were used.
Step 1.
Guitar Disassembly

Tuners
after 1965

1964-65
Tuners
Step 13.
Tuners
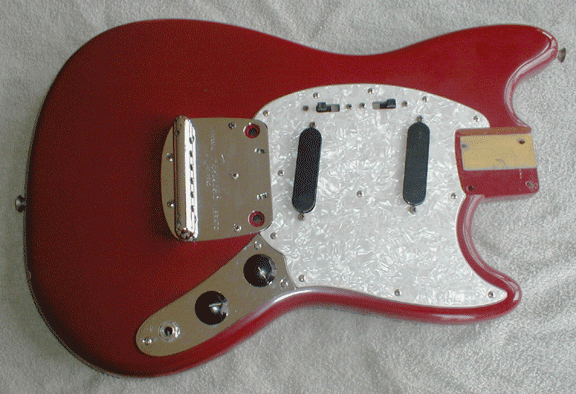
Vintage Mustang bridges have variants; in 1964-65 "Patent Pending" appeared below the Fender logo. A patent number appeared later, then no patent indication at all
Take your time putting the guitar back together. The new finish will continue to cure and harden for months! Place the body on a soft towel while building and keep track of all loose screws.
Step 1.
Guitar Disassembly


"Patent Pending"
No patent information
Step 18.
Know Your Mustang Bridge
Step 17.
Putting It All Together
Step 1.
Guitar Disassembly
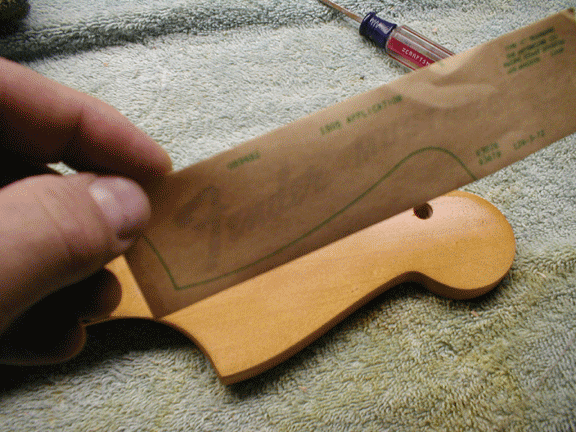
Original Fender decals have an alignment marking on the paper backing to assist in placing the new decal correctly on the headstock. Aftermarket decals usually do not have this marking.
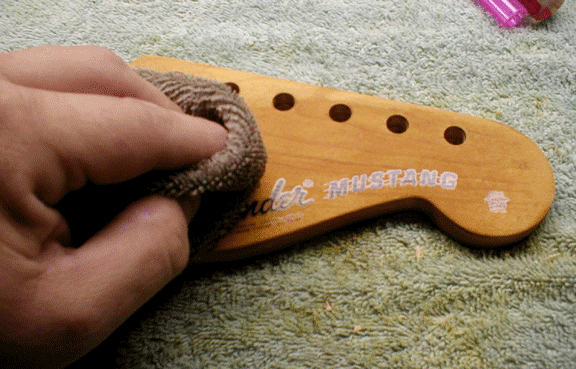
Spray a single coat of laquer to seal the headstock surface. Wet the decal and wait for it to loosen on the backing. Position the graphic and peel the backing. Gently dry with a terrycloth towel.
Step 10.
Guitar Disassembly
Step 9.
Decal Alignment
http://www.reranch.com has vintage Fender laquer colors available in spray cans...an excellent supplier! Spray sealer first, color coat next, then at least 10 coats of clear laquer. Let dry for ten days.
Step 13.
Spray Body
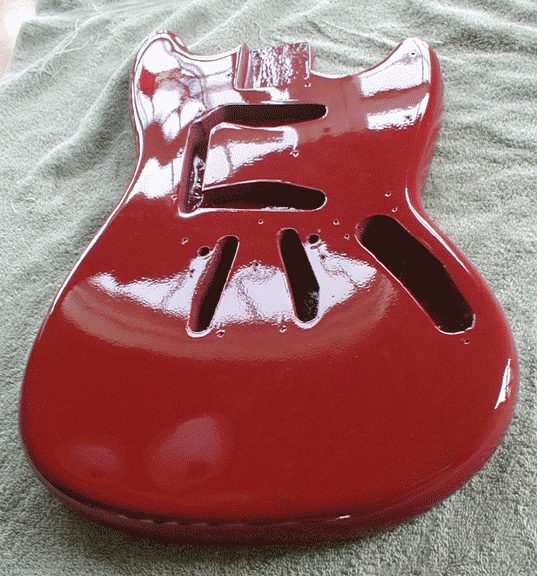
Step 15.
Seal, Color Coat, Then Clear Coat
Bondo is our friend if the sink is not deep. Here the body is shown filled and sanded with a sanding block. The surface is flat again and the glossy finish will look great.


