Be bold! The first step to restoration is to disassemble the guitar and assess the condition of the parts.

1965 Fender Mustang Restoration 11
This guitar was a pawn shop find. It had been stripped and left for dead. See it come to life!

Step 1.
Guitar Disassembly
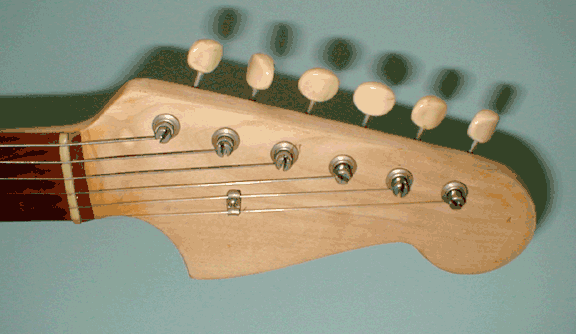
The pickups are original to the guitar. Before CBS purchased Fender, employees wrote the date and their initials in marker on the backs of each pickup.

Step 2.
Check Originality

Step 3.
Guitar Disassembly
Pre-CBS guitars all share this excellent dating characteristic; the date of manufacture is stamped on the end of the necks. This guitar is dated 8 JUN 65 B. The "B" indicates longer scale length.
Looking inside the neck route, note that the original color of this guitar was Daphne Blue. Although I usually retain the original hues, the customer requested another original Mustang color- red.

Step 4.
Neck Date
Step 3.
Original Color
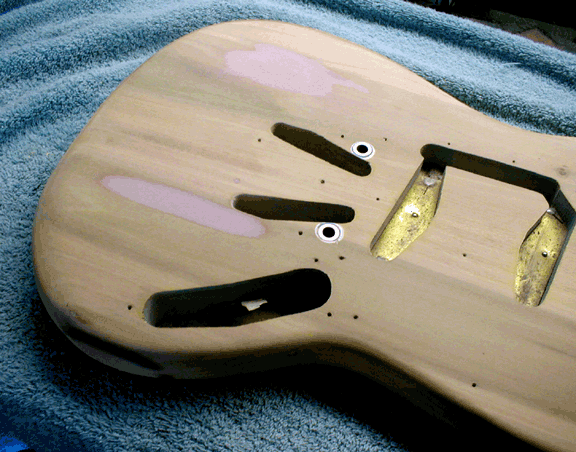
Bondo is our friend if the sink is not deep. Here the body is shown filled and sanded with a sanding block. The surface is flat again and the glossy finish will look great.
The previous owner was not aware that sanding without a sanding block can leave sinks in the wood. Since the finish will be opaque and the sinks are not deep, Bondo body filler can be used to fill.
Step 1.
Guitar Disassembly

Step 6.
Fill Sinks and Sand Flat
Step 5.
Check For Problems
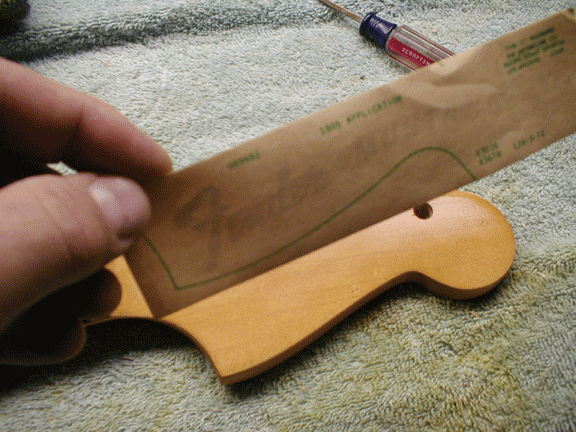
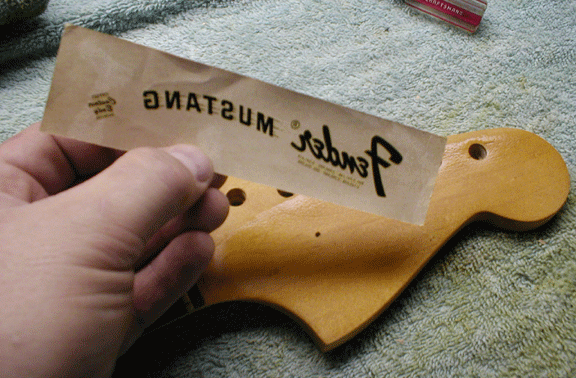
A replacement headstock logo decal can be purchased on ebay or elsewhere on the internet. This decal is an original Fender part which was included in the case at purchase.
The logo is missing! No problem- since laquer was used instead of Polyeurethane in the1960's, overspraying new laquer will melt into the previous layers, leaving a beautiful new finish.
Step 1.
Guitar Disassembly
Step 8.
New Decal
Step 7.
Replacing the Headstock Decal
Step 1.
Guitar Disassembly
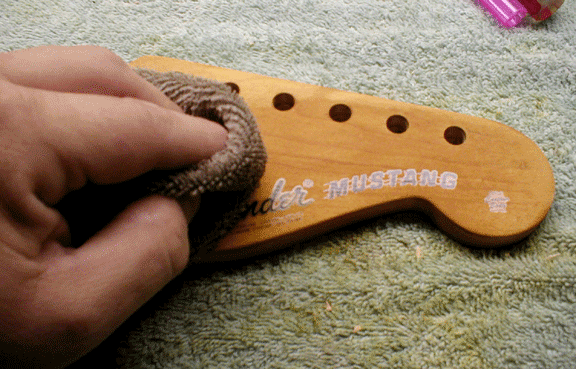
Spray a single coat of laquer to seal the headstock surface. Wet the decal and wait for it to loosen on the backing. Position the graphic and peel the backing. Gently dry with a terrycloth towel.
Original Fender decals have an alignment marking on the paper backing to assist in placing the new decal correctly on the headstock. Aftermarket decals usually do not have this marking.